Loading... Please wait...

- Home
- DIY Blog
- HOME DECOR
- DIY Nail Art Foil Pumpkin
DIY Nail Art Foil Pumpkin

DIY PROJECT:
DIY Nail Art Foil Pumpkin
Why let your nails have all the fun? Match your pumpkin to your mani with this nail art inspired pumpkin! Perfect for beginners!
- Makes: 1 Pumpkin
- Skill Level: Beginner
- Time: Approx 1/2 Hr

A. Craft pumpkin (from Target)
B. Acrylic paint w/optional palette for mixing
C. Mod Podge
D. Glitter
E. Nail Art Foils & Adhesive
F. Paint Brush
G. Rhinestones &/or other embellishments
Tools needed:H: Glue Gun & Glue Sticks
I: Hair Dryer - optional (to speed up drying time)
Now Let's Get Messy!
-
STEP 1: Plan your design. Cover your work surface & layout all materials. Decide on your paint, foil, & glitter colors! Do some prep work & mix any paint colors you like. Cut the foil into smaller strips, approximately 2-3" so that it is easy to work with.
-

STEP 2: Paint your pumpkin & let fully dry. You can use a hair dryer to speed up the drying process. Wash your paint brush.
-
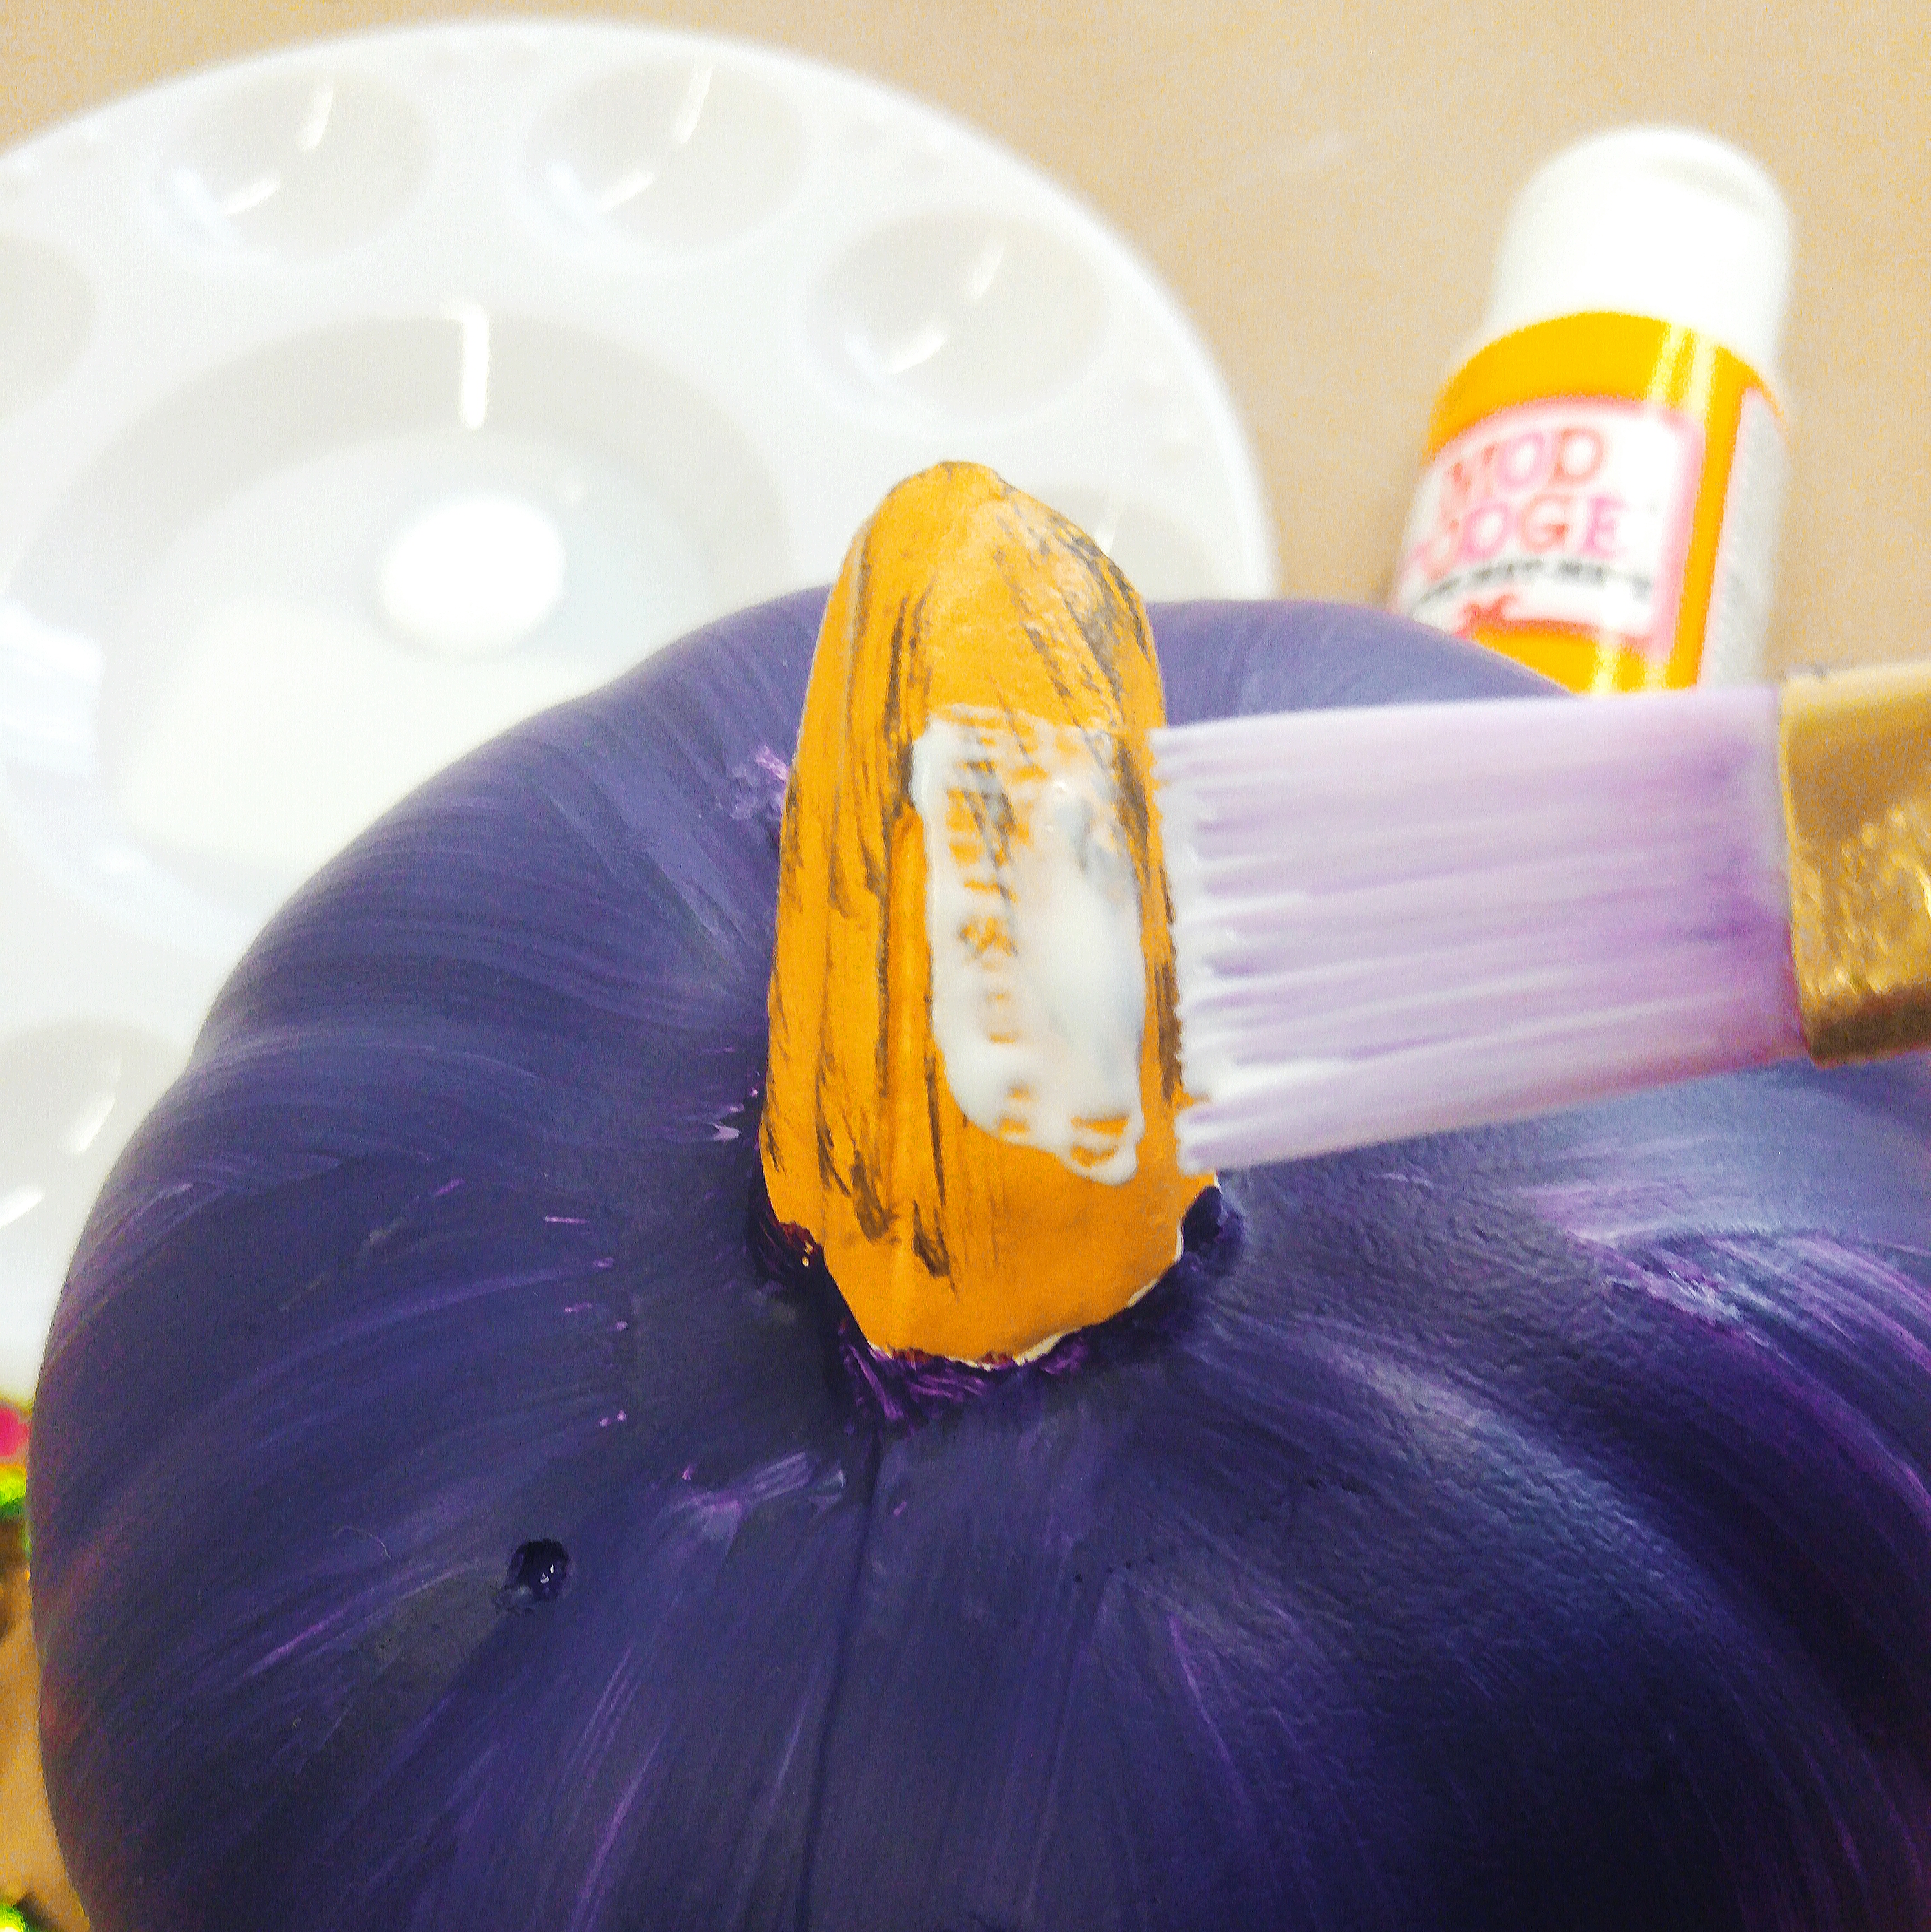
STEP 3: Glitter the stem! Once the paint has dried (NOTE: If you don’t wait for the paint to dry, the glitter may stick to the paint), paint the stem with Mod Podge & quickly cover it in glitter.
-
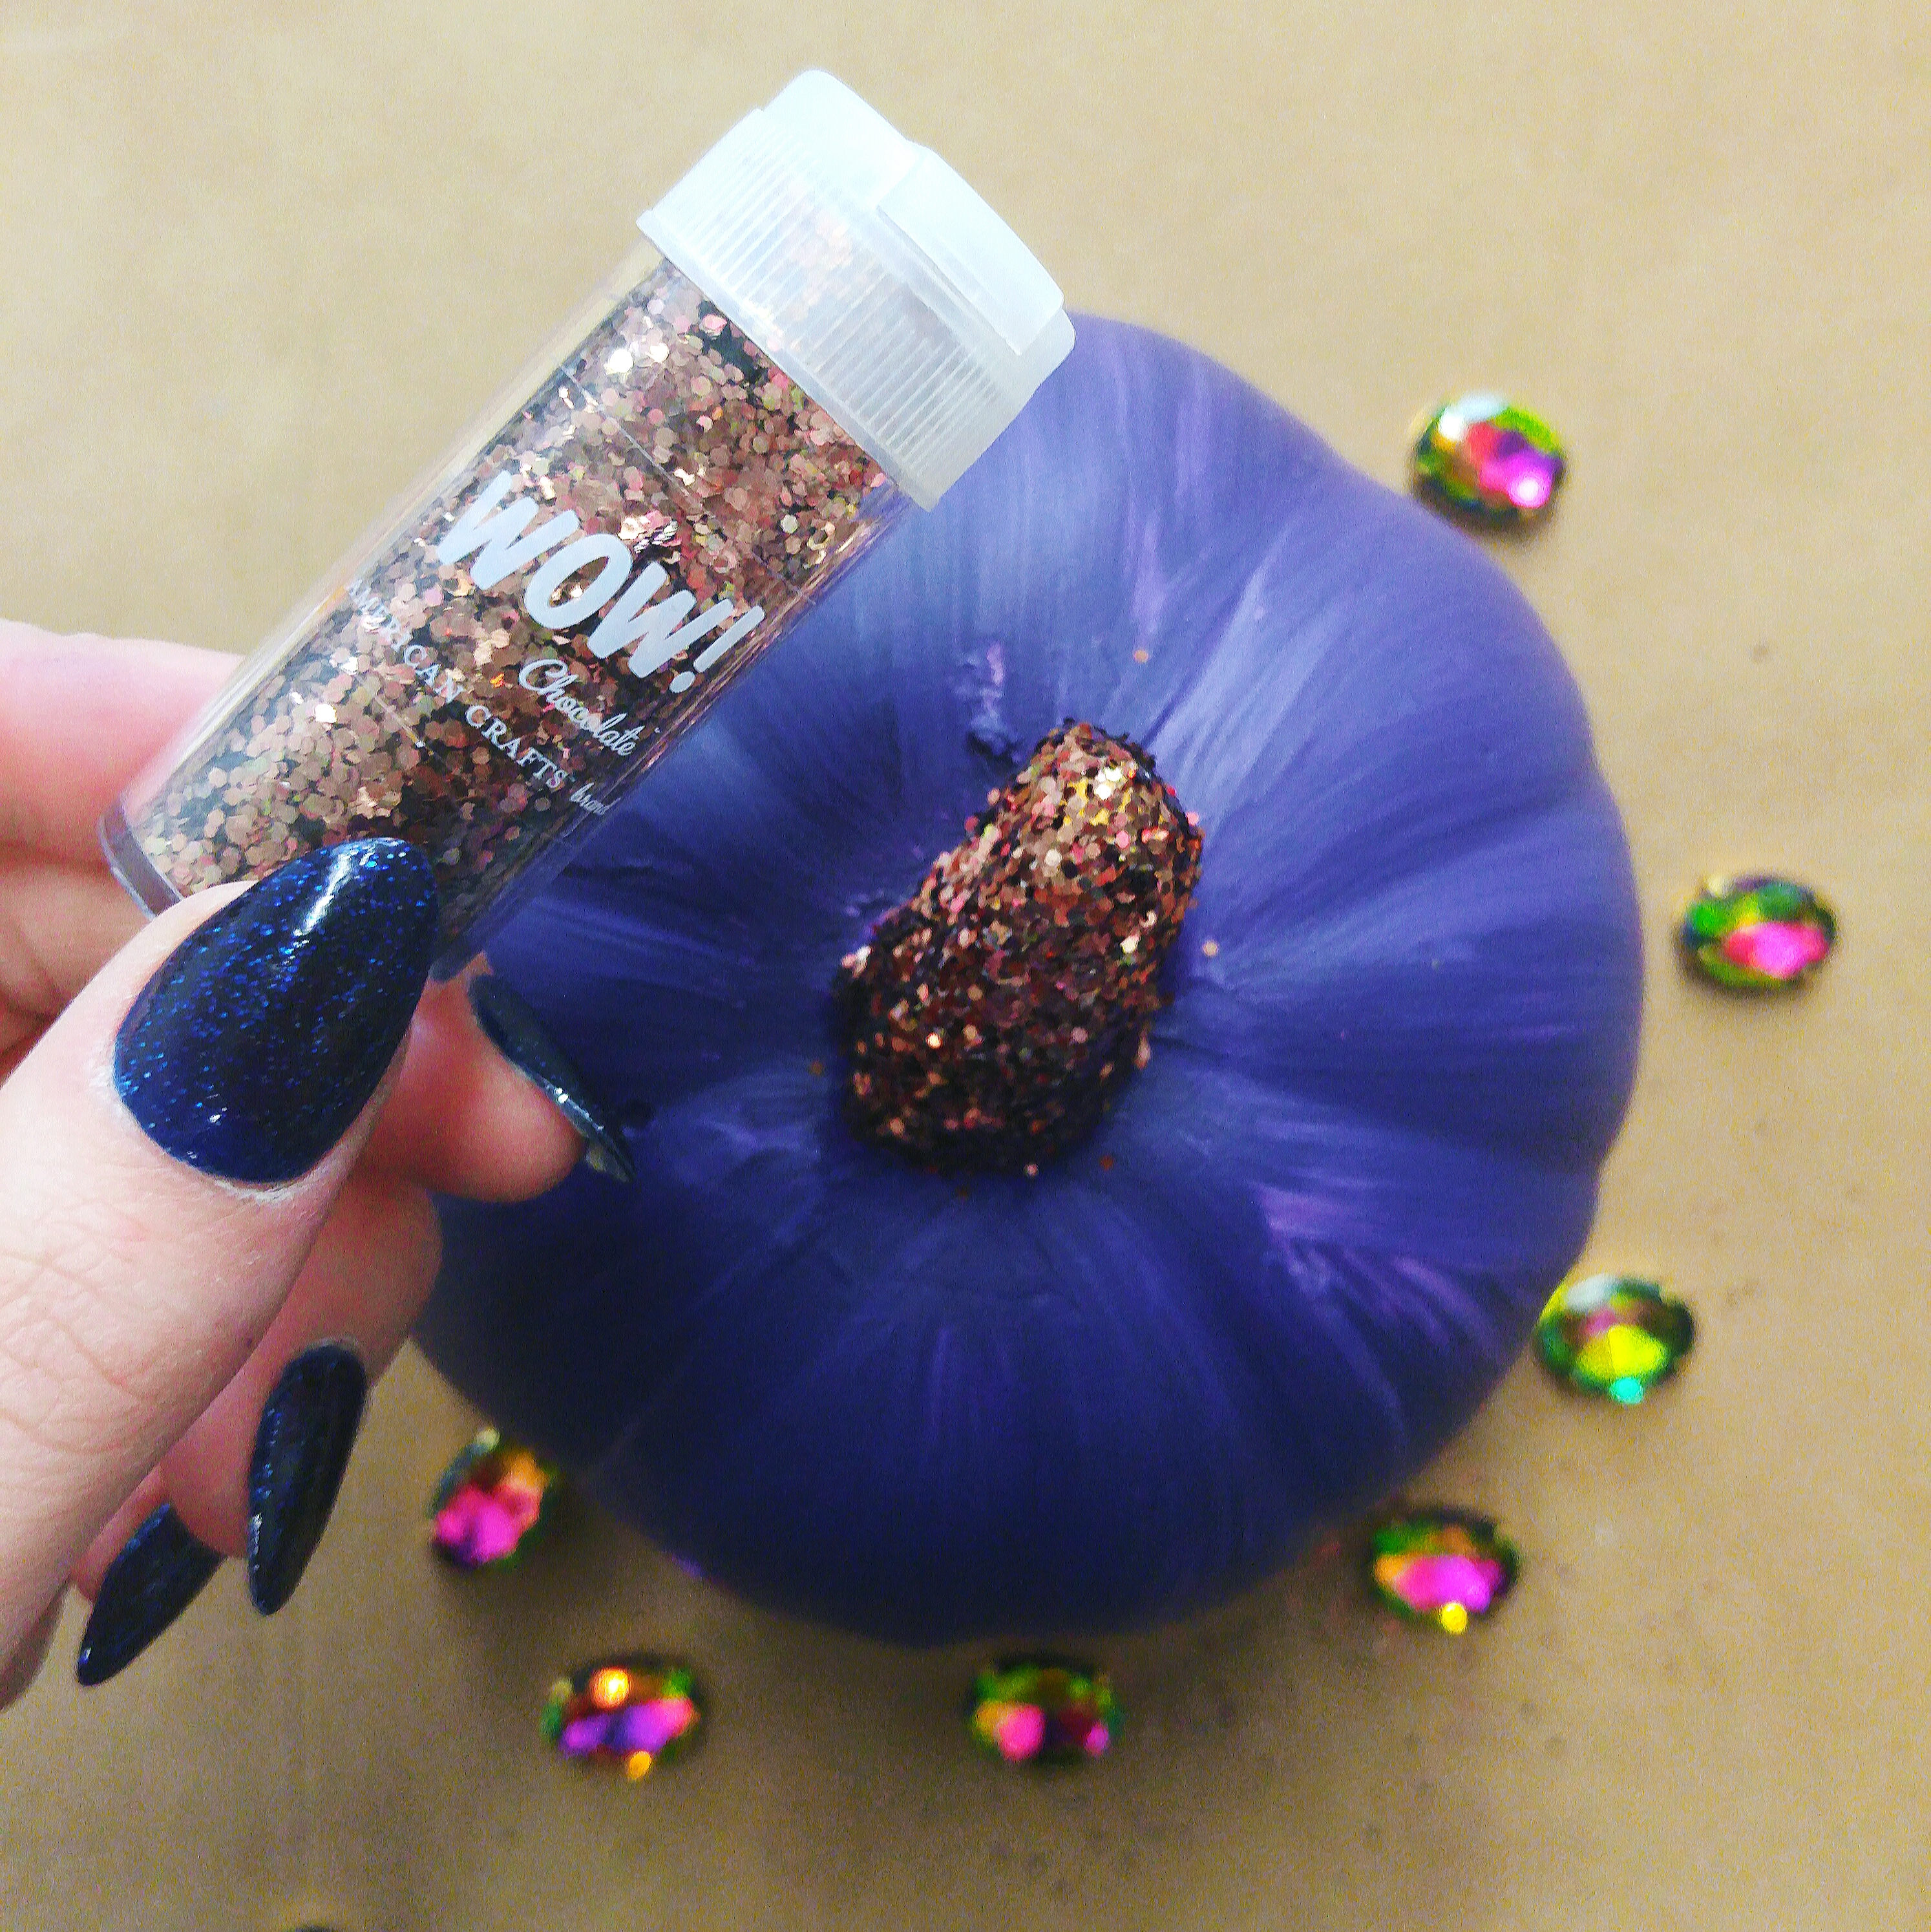
STEP 4: If you want a thicker coat of glitter, allow the 1st layer of mod podge / glitter to dry & repeat. Wash your paint brush. Tip! Save glitter! Use a piece of paper under the pumpking that you can use as a funnel to pour excess glitter back. A little glitter goes a long way with proper clean up.
-
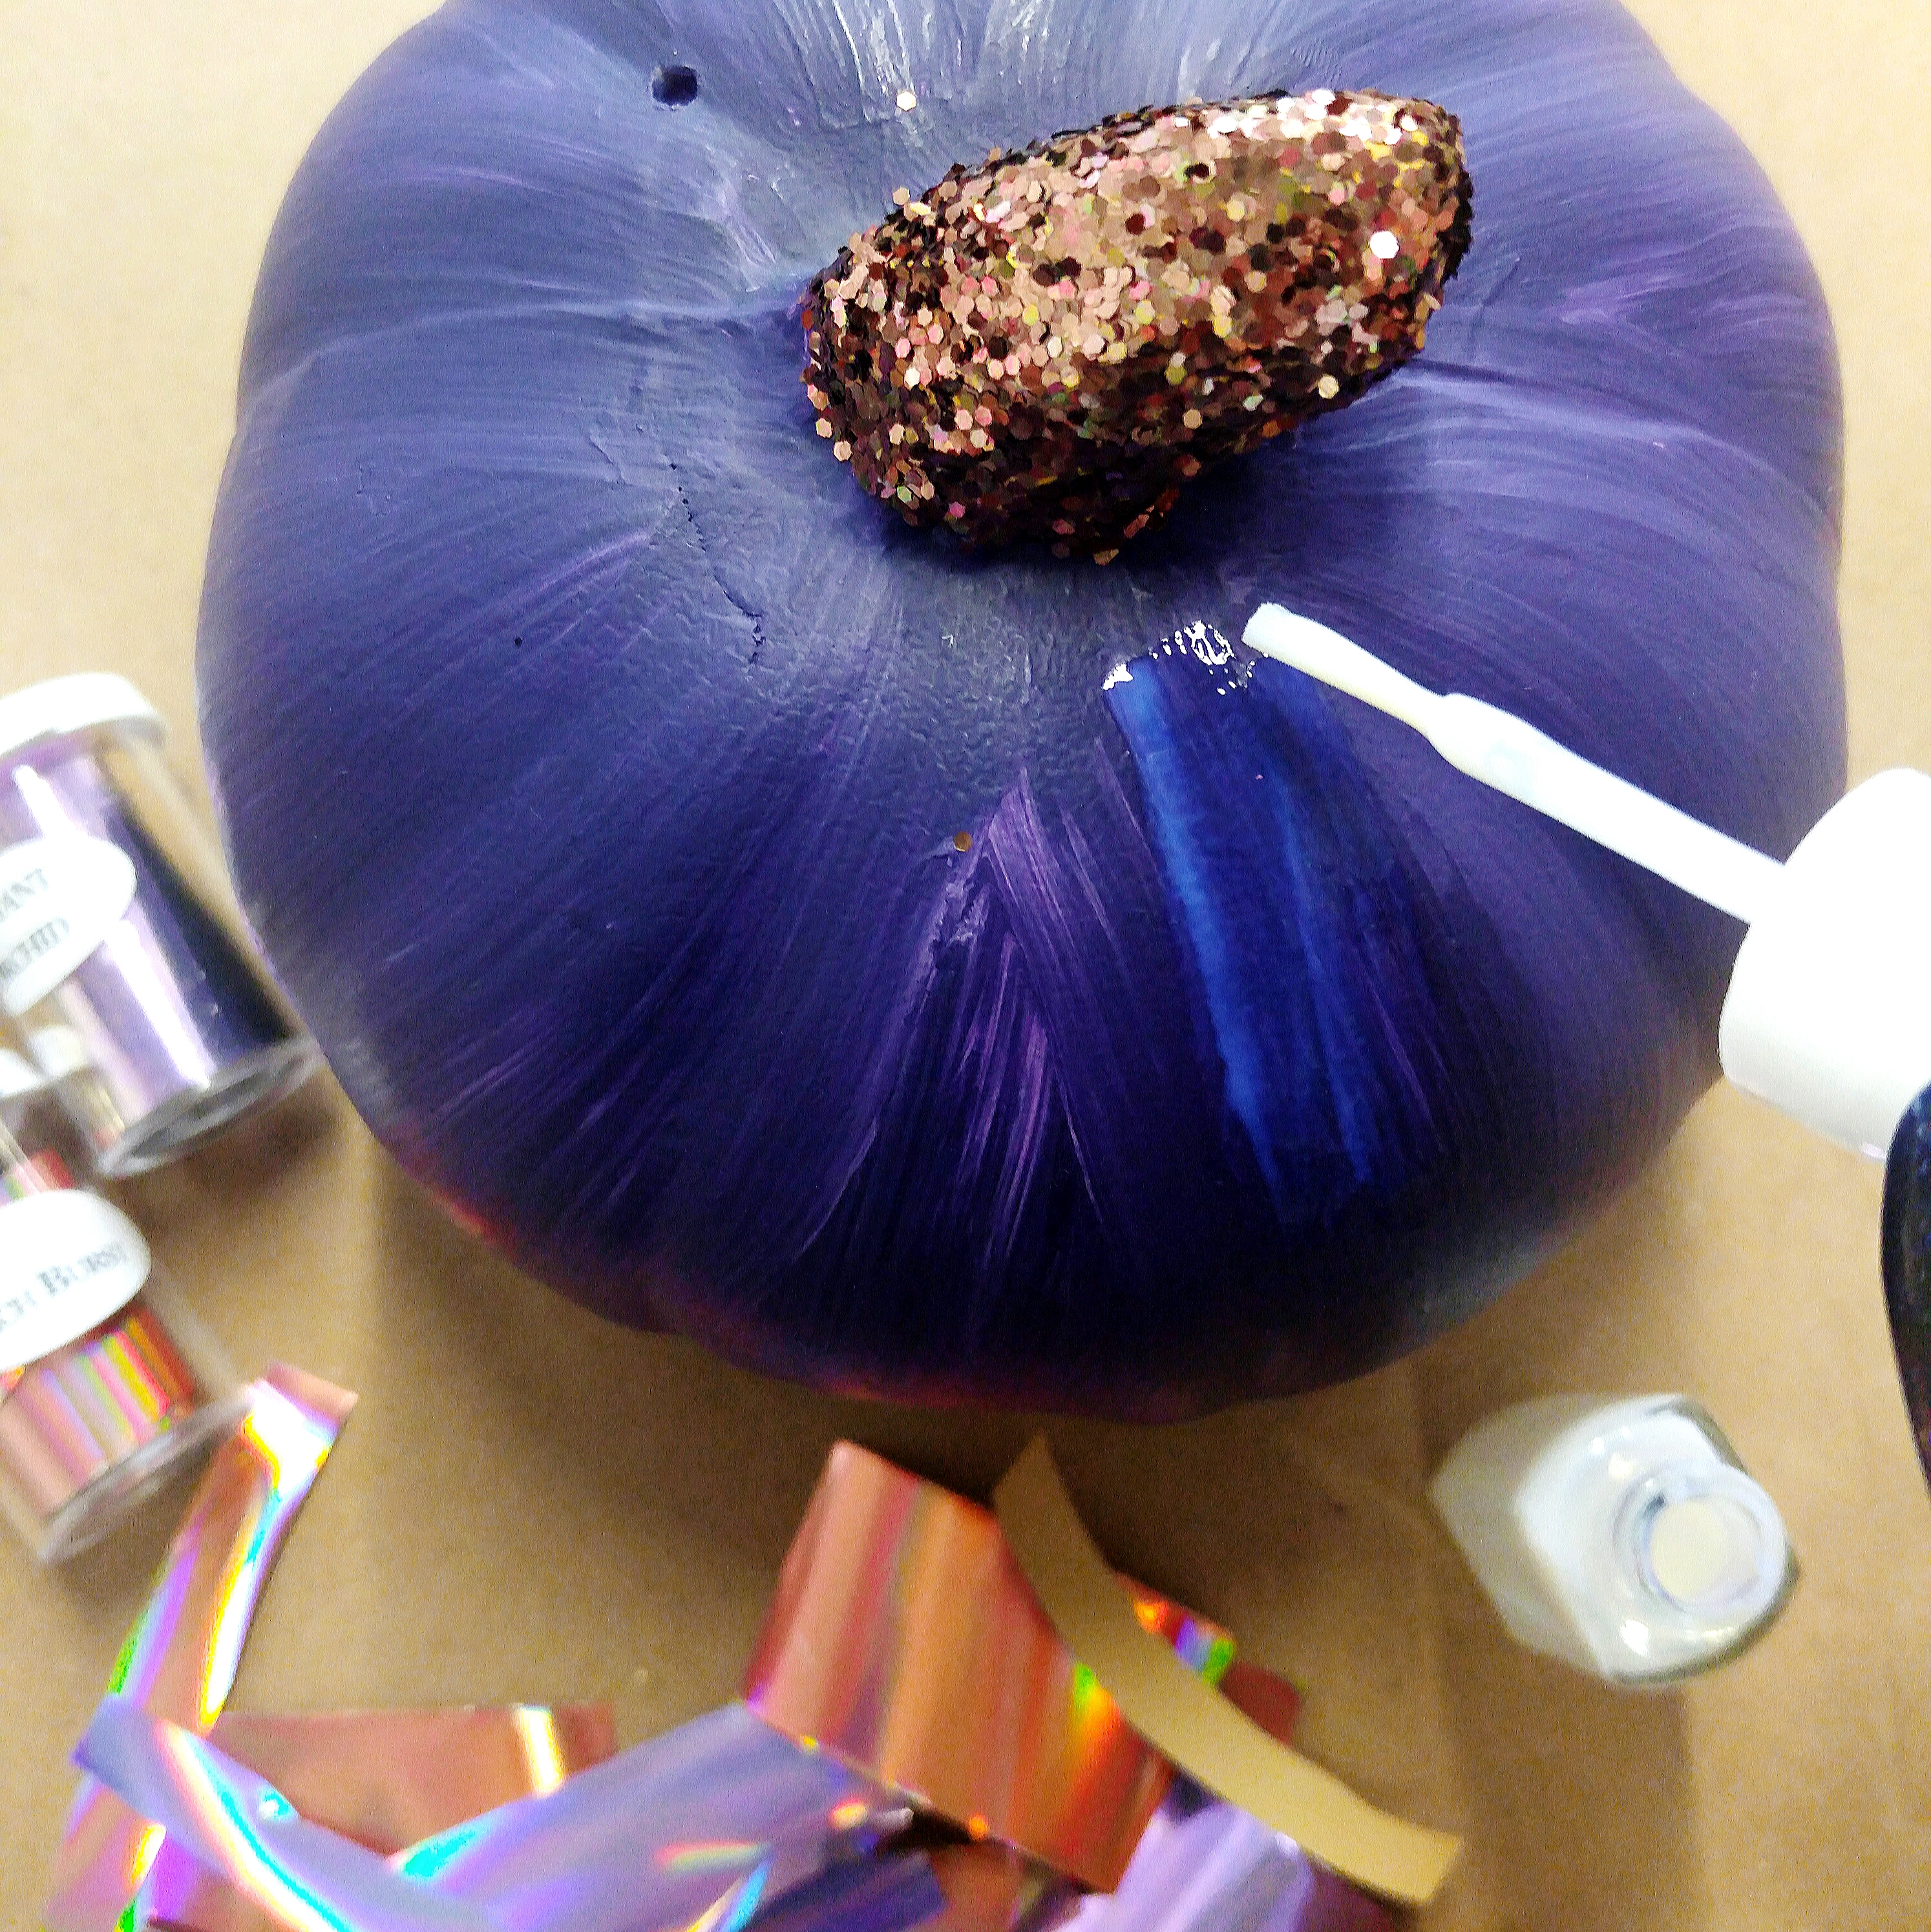
STEP 5: Once dry, paint the pumpkin with the nail adhesive. You only need to place nail adhesive where you want foil. Let nail adhesive dry until slightly tacky. You can use a hair dryer to speed up the drying time.
-
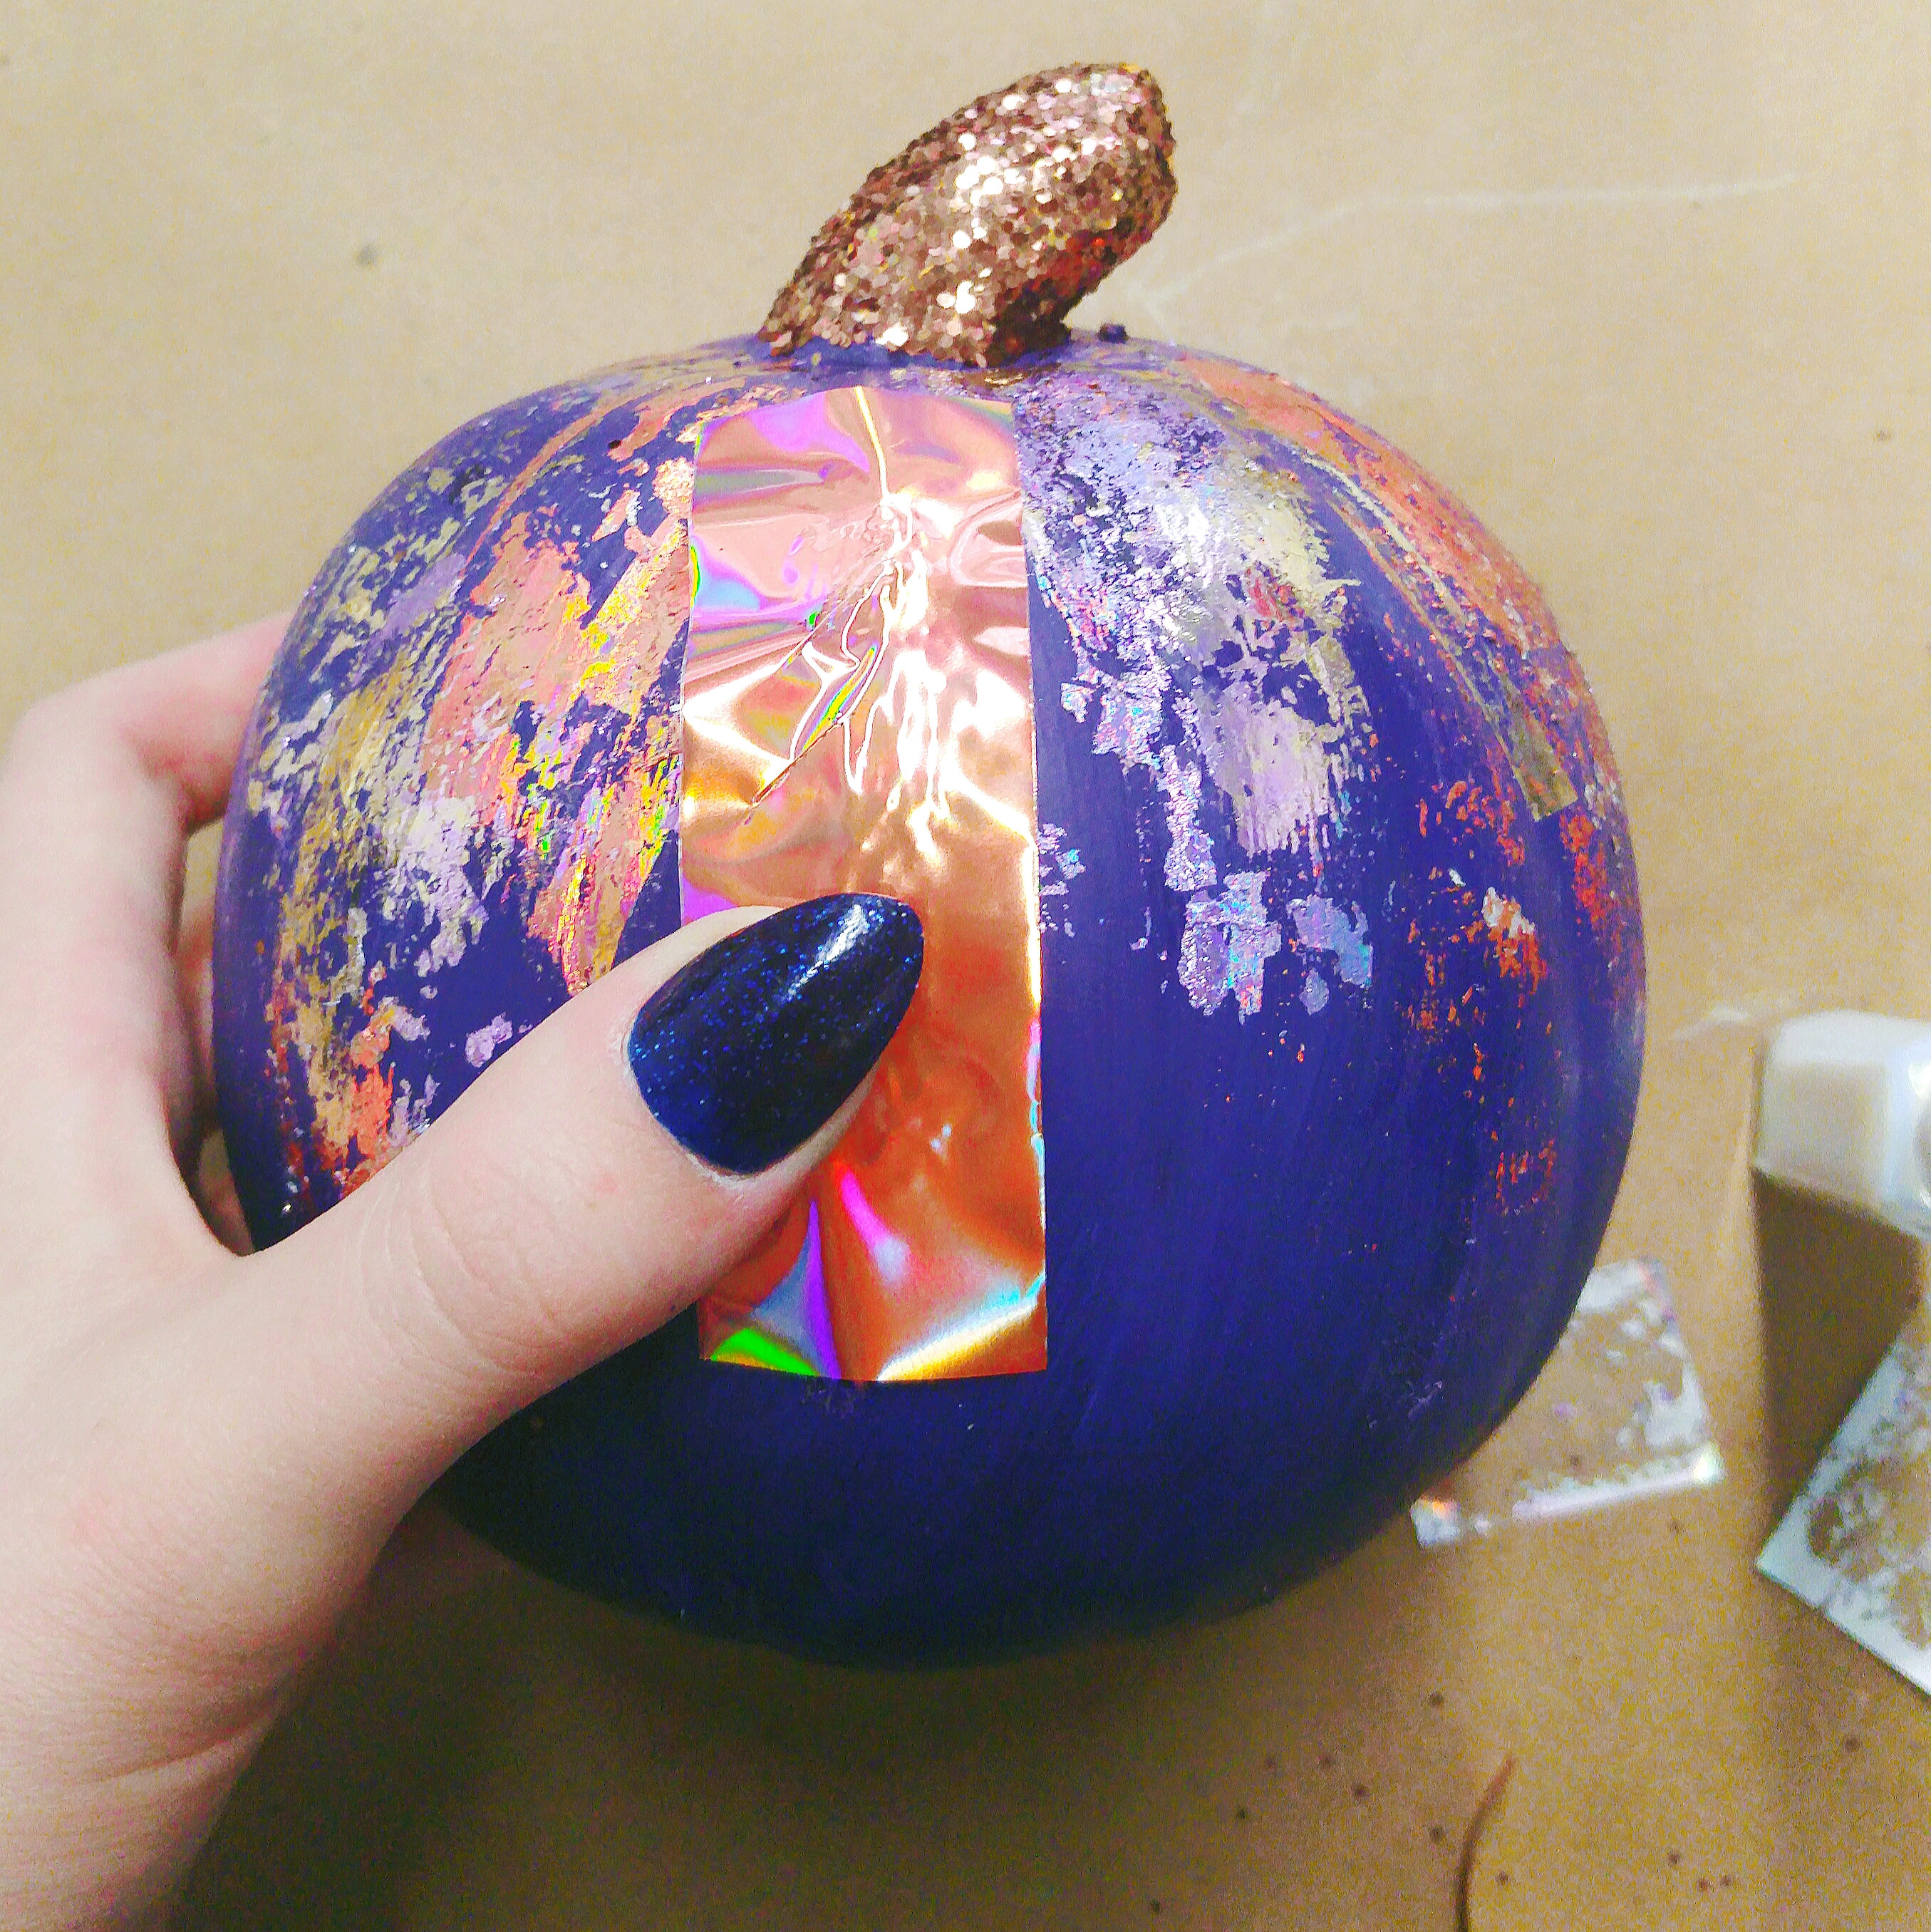
STEP 6: Now for the magic! Once the nail adhesive is dry but a bit tacky, take your foil sheets & press onto the areas covered with adhesive. Gently rub the top of the foil pressing down onto the surface of the pumpkin. Slowly peel the foil sheet up & voila! Now repeat until your pumpkin is blinged out to your liking! Allow to dry.
-

STEP 7: TIP! If the foil doesn’t stick in any areas or lifts up the paint, don't panic! Just add a little more adhesive to any problem spots, allow to dry & repeat steps 5-6.
-
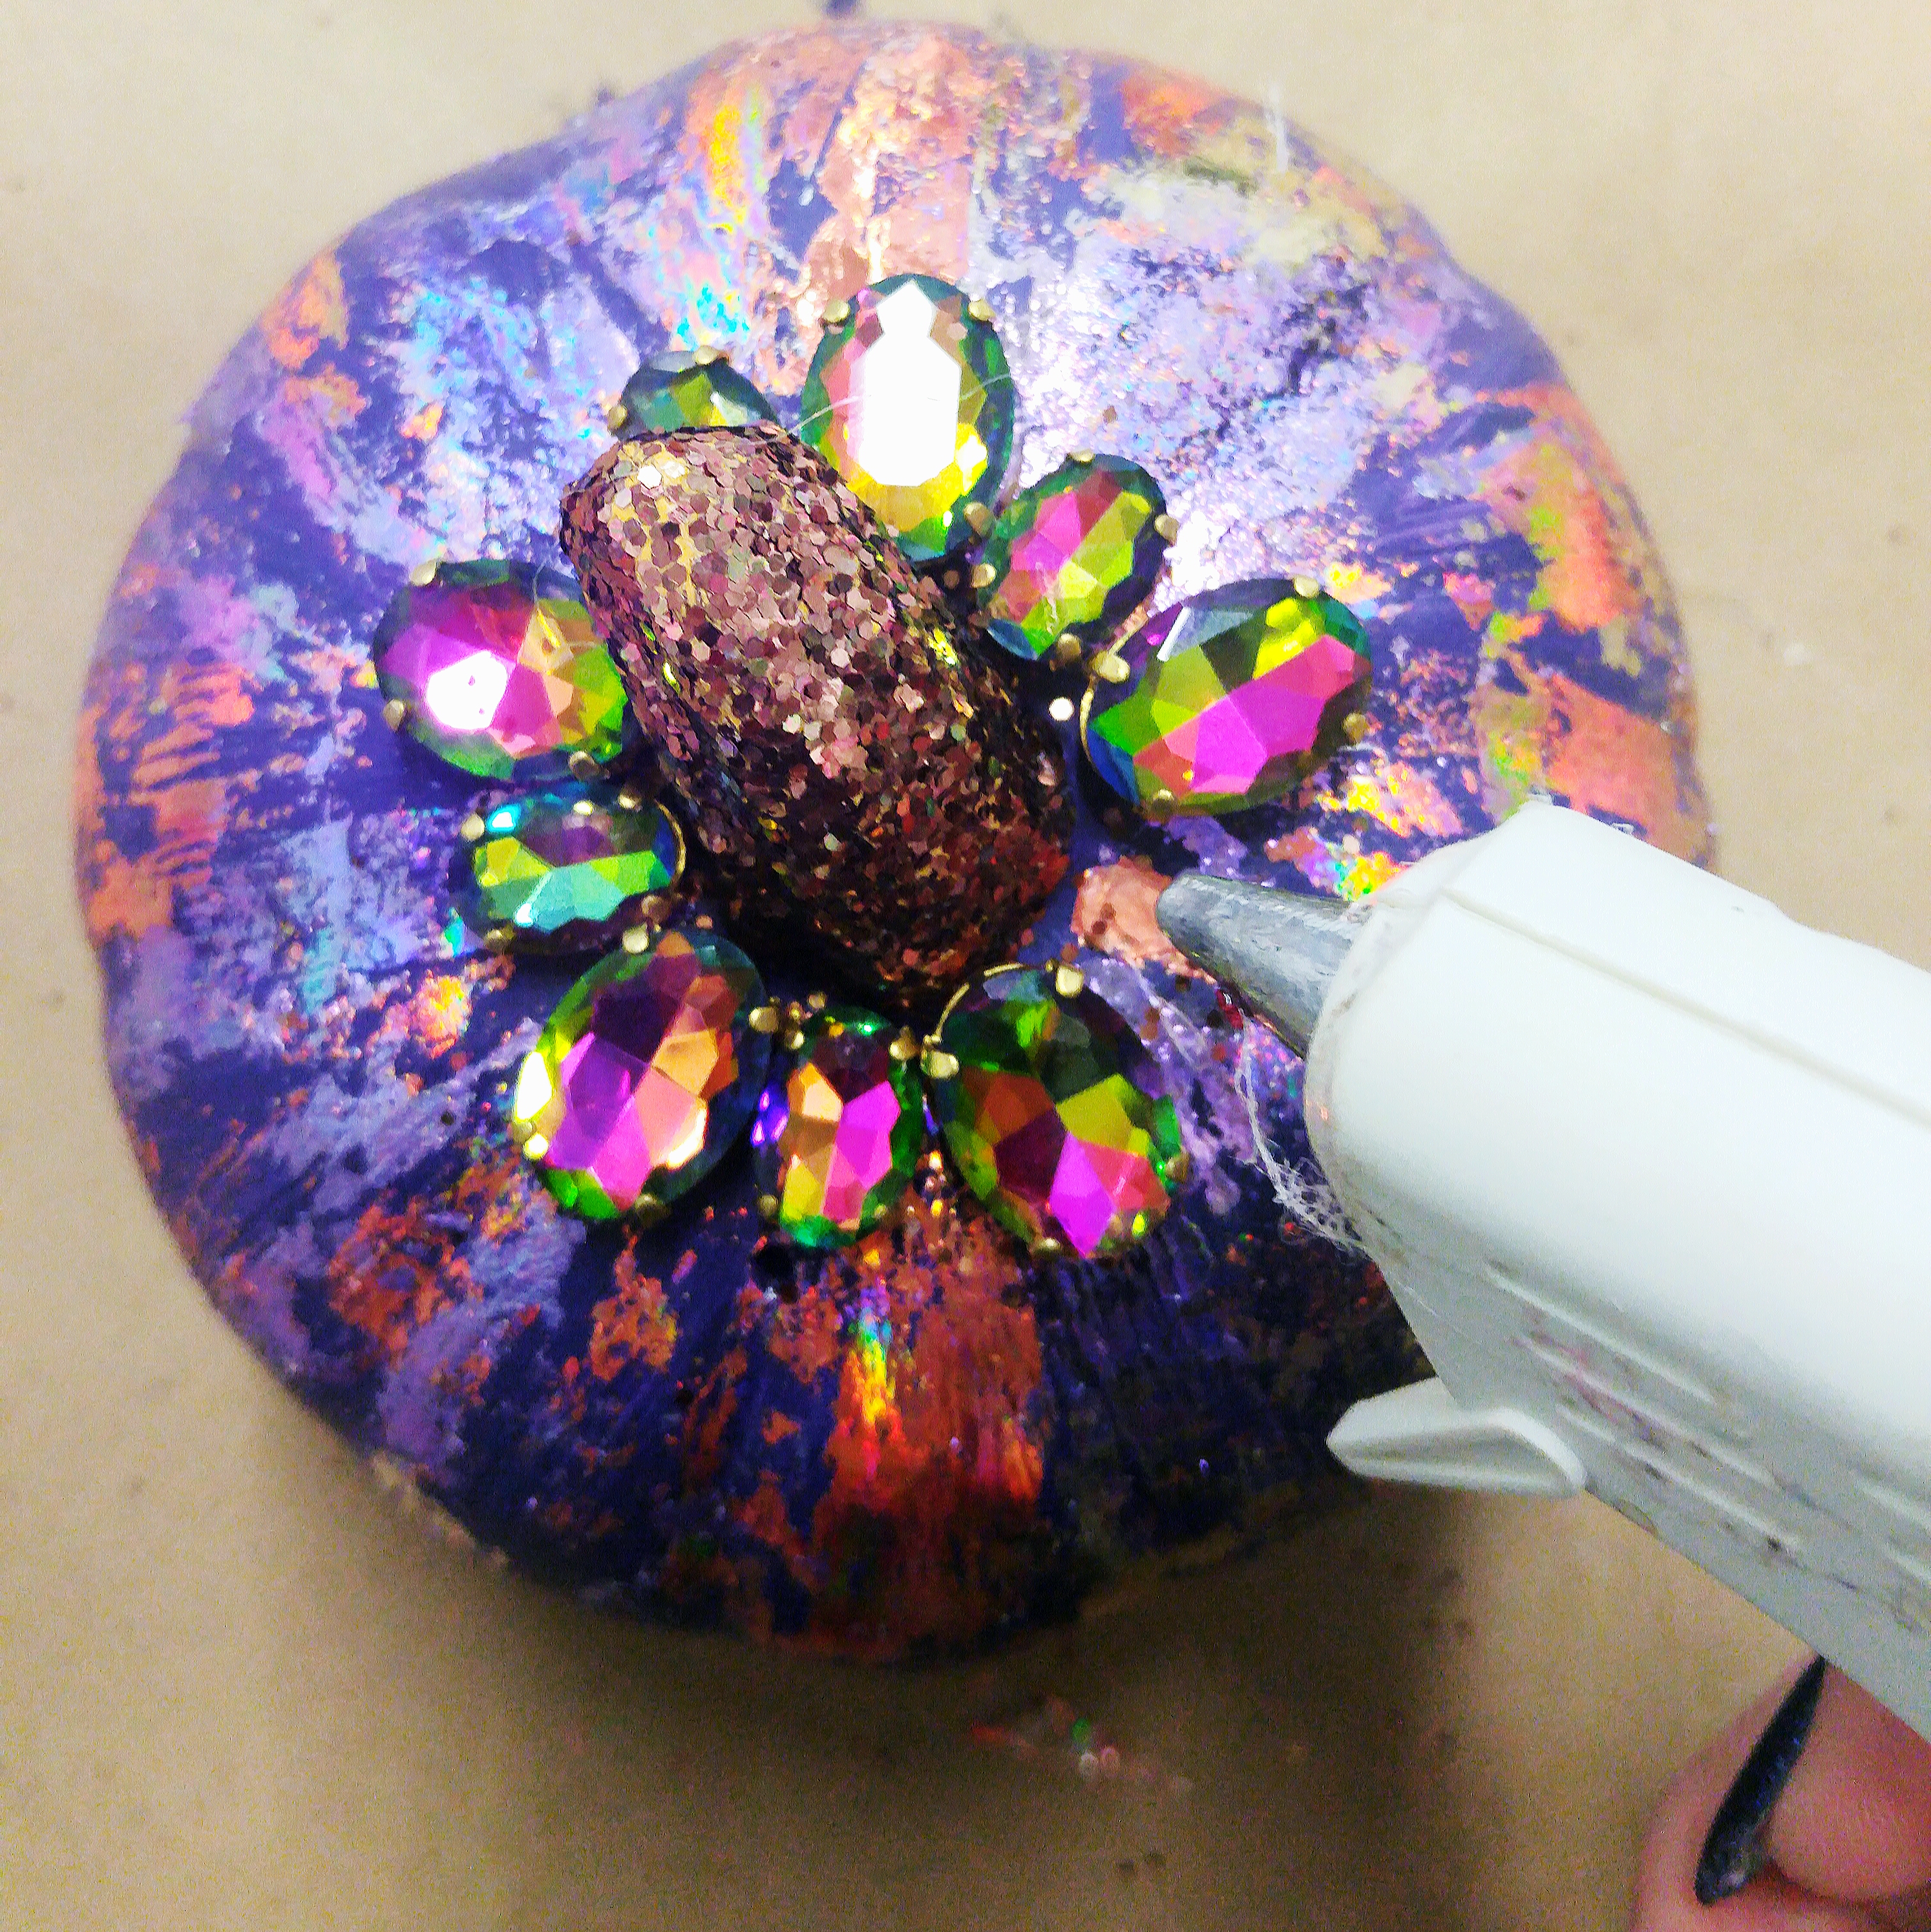
STEP 8: Add even more bling! Because there's no such thing as too much sparkle, go wild & add rhinestones using a glue gun.
-
STEP 9: Really go wild & treat yourself to a matching mani! Follow the above steps with a few exceptions - prep your nails as you normally would, swap your nail polish for the acrylic paint, & add a top coat after the adhesive / foil has dried. No glue guns on nails (obvi!), but if you'd like to add more bling use a nail art adhesive & nail art crystals or studs!


Leave a trail of glitter & show off your skills!
P.S. — It looks awesome ☺